
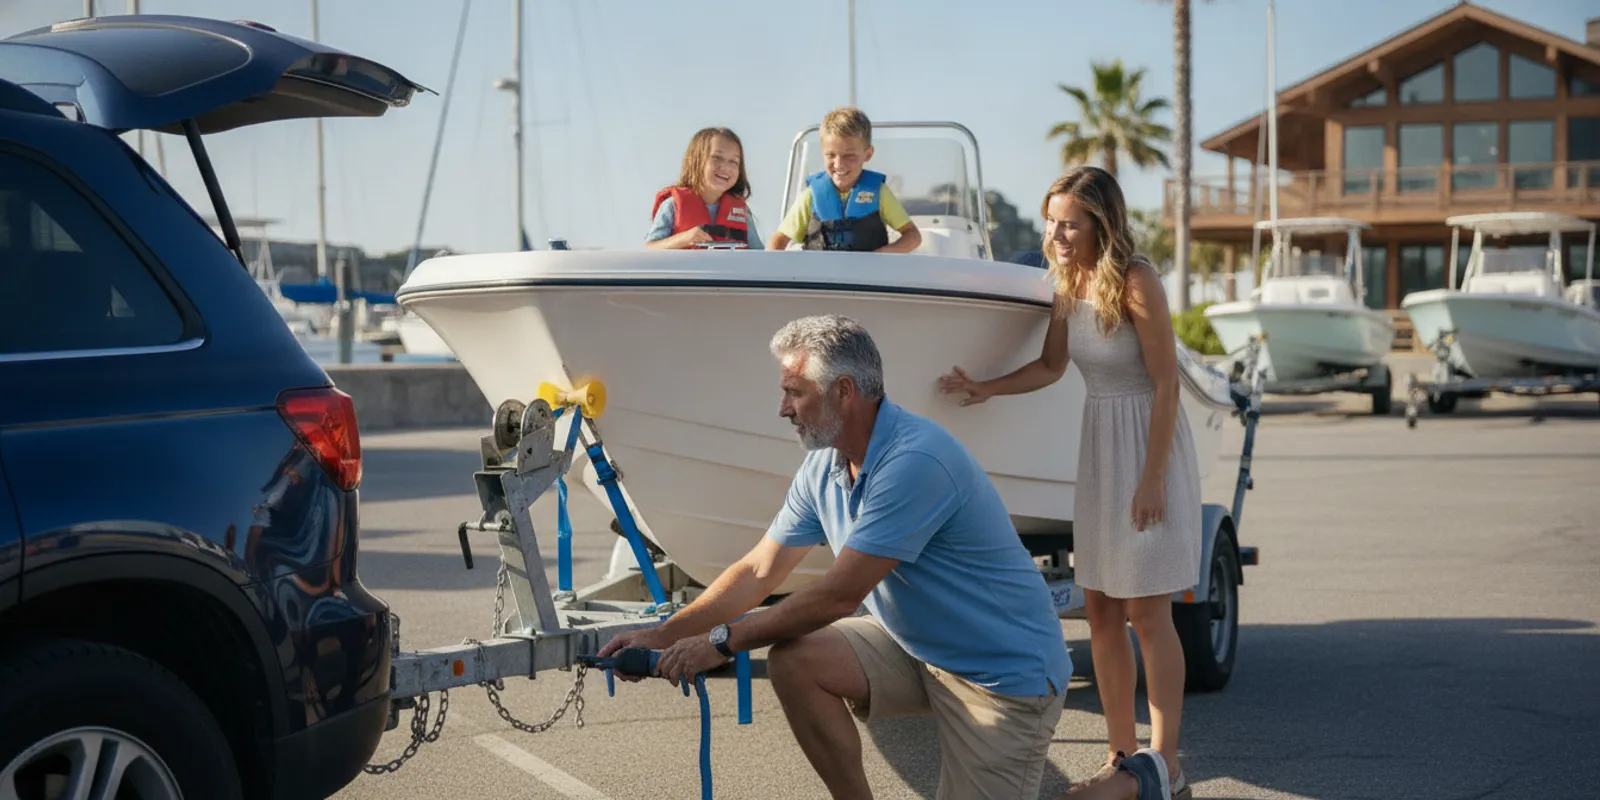
A boat trailer checklist helps you catch small problems before they become roadside or launch-day trouble. Before towing in Massachusetts, take a few minutes to check the tow vehicle, hitch, trailer tires, lights, and the way the boat is secured. Work through the same sequence each time, then pause if anything looks damaged, loose, or unfamiliar.
Schedule a tour and talk with our team
What Should You Check Before You Hitch Up?
Start with the tow vehicle and trailer parked on firm, level ground. Put the vehicle in park, set the parking brake, and keep people clear of pinch points. If you are new to trailering, ask an experienced person to walk through the setup with you. A checklist supports a careful inspection; it does not replace the vehicle, trailer, or hitch manufacturer’s instructions.
First, confirm that the tow vehicle is rated for the loaded trailer. Include the boat, motor, fuel, gear, and other items carried in or on the trailer when considering the load. Check the vehicle manual and the trailer identification or capacity information rather than relying on appearance. The U.S. Environmental Protection Agency’s trailer towing pre-trip checklist calls attention to adequate tow-vehicle power and regular preventive maintenance.
- Look for obvious vehicle issues that could affect the trip, such as a warning light, damaged mirror, or a tire that appears low.
- Check that the mirrors give you a usable view along both sides of the trailer. Adjust them before moving.
- Make sure the hitch receiver and ball match the trailer coupler requirements. Do not guess at size or capacity.
- Check the hitch components for cracks, severe rust, bent parts, or missing hardware.
- Gather the required keys, wheel chocks, and any tools specified by the trailer or vehicle maker.
Review the route and towing conditions before loading up. Narrow roads, steep grades, strong wind, heavy rain, and traffic can all make towing more demanding. If the combination feels beyond your experience or the equipment limits, do not proceed until you have a safer plan.
How Do You Inspect the Coupler, Ball, and Safety Chains?
The connection between vehicle and trailer deserves a slow, hands-on check. Raise or position the coupler as directed by its manufacturer, line it up with the correct hitch ball, and lower it fully into place. Close and secure the latch. Use the coupler’s specified retainer or lock so the latch cannot open unintentionally.
After coupling, make sure the trailer is supported by the vehicle rather than the jack. Use the trailer jack as instructed, then stow it so it cannot contact the road. Attach safety chains to the designated points on the tow vehicle, not to a removable or unsuitable part. Cross the chains beneath the coupler when the equipment instructions call for that arrangement, while leaving enough slack for turns and not so much that they drag.
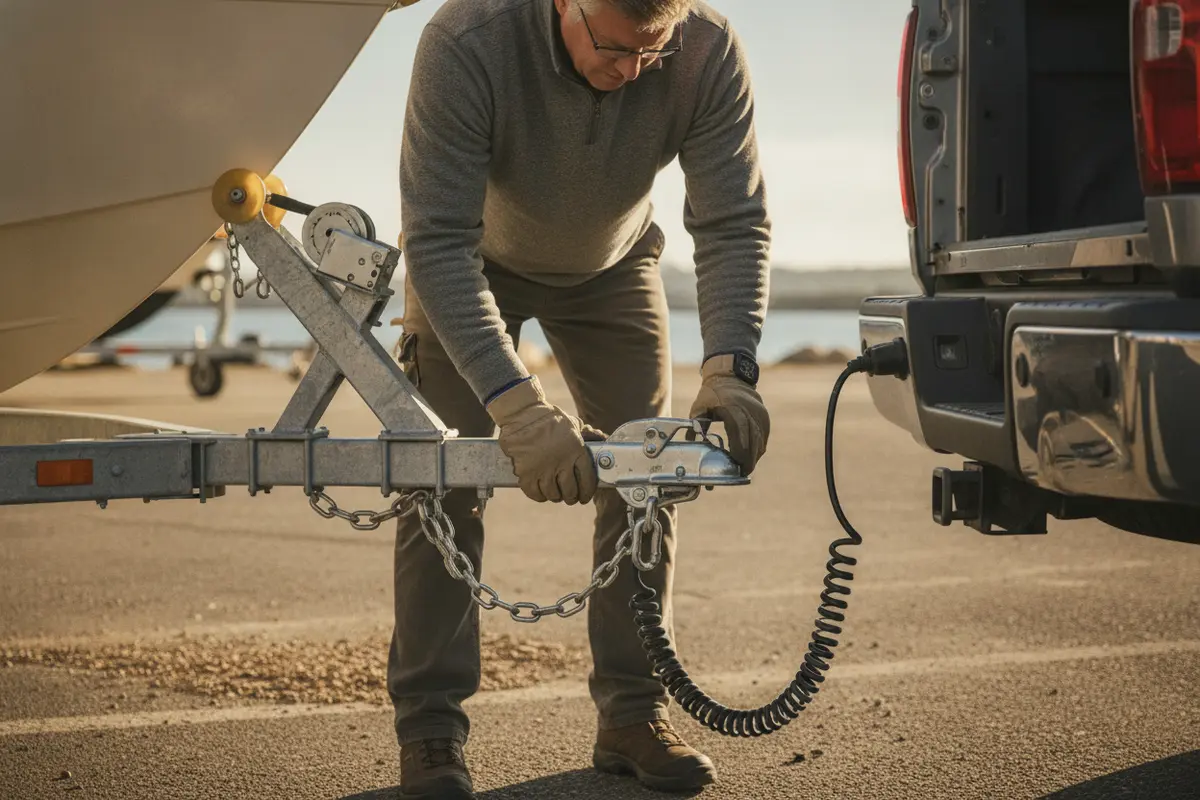
- Confirm the coupler is fully seated on the ball and its latch is secured.
- Check that the safety chains are attached, undamaged, and clear of the road.
- Connect the breakaway cable, if equipped, to the specified attachment point independently of the safety chains.
- Plug in the electrical connector and check that the cable has enough slack to turn without dragging or catching.
- Raise and secure the tongue jack, then remove wheel chocks only when you are ready to move.
Do not tow with a latch that will not close, a chain that is badly worn, or a coupler that does not fit securely. Consult the equipment maker or a qualified trailer professional to resolve a mismatch or damaged part.
Which Trailer Tire and Wheel Checks Matter Most?
Inspect every trailer tire, including the spare if you carry one. Look for cuts, bulges, exposed cords, cracking, embedded objects, and uneven wear. Check pressure with a reliable gauge when the tires are cold, and use the pressure specified for the load by the tire or trailer manufacturer. Do not use the maximum pressure molded on the sidewall as a substitute for the correct operating guidance.
The NASA boating checklist includes checking tire air pressures on both the tow vehicle and trailer before towing. Its advice is a useful reminder to check both sets rather than focusing only on the vehicle. Also inspect the wheels and lug nuts for visible damage or looseness. Use the manufacturer’s torque specification and an appropriate torque wrench if you need to verify lug-nut tightness; do not estimate tightness by feel alone.
| Item | What to inspect | What to do if it fails |
|---|---|---|
| Tires | Pressure, tread, sidewalls, cracks, bulges, and embedded objects | Correct pressure to the specified value; replace a damaged or unsuitable tire before towing |
| Wheels and lug nuts | Visible cracks, corrosion, missing nuts, or signs of movement | Do not travel with a damaged wheel or uncertain fastening; follow the maker’s torque guidance |
| Spare and tools | Spare condition and pressure; jack and lug wrench availability | Repair or replace the spare and confirm the tools fit your trailer |
| Bearings and hubs | Visible grease leakage, unusual heat history, noise, or damage | Have a qualified technician inspect suspected bearing or hub problems |
Do not put your hand near a hub that may be hot after travel. If you notice heat, smoke, a burning smell, grinding, or a change in how the trailer rolls, stop in a safe place and investigate without putting yourself in traffic or near moving parts. Maintenance intervals depend on the trailer and its use, so follow the maker’s schedule.
How Can You Confirm the Trailer Lights and Brakes Work?
With the trailer connector plugged in, check the running lights, left and right turn signals, and brake lights. Ask another person to watch while you operate the vehicle controls, or use a safe reflective surface to help verify them. Check that lenses are clean, intact, and visible. Make sure the connector is seated and the wiring is not hanging low, pinched, frayed, or rubbing against a sharp edge.
If the trailer has brakes, follow the trailer and vehicle instructions to check the brake connection and any breakaway system. A light that does not work or a brake system that seems faulty is a reason to stop and fix the issue, not to hope it will be fine on the road. Do not make wiring repairs you are not equipped to perform safely. Ask a qualified technician when a fault is unclear.
- Turn on the vehicle’s running lights and verify the trailer markers and tail lamps.
- Test each turn signal separately and confirm the correct side flashes.
- Press the brake pedal and confirm both trailer brake lamps respond.
- Check reflectors and license-plate illumination where fitted.
- Test the trailer brake controller and breakaway equipment according to their instructions.
Are the Boat and Its Gear Secured for the Road?
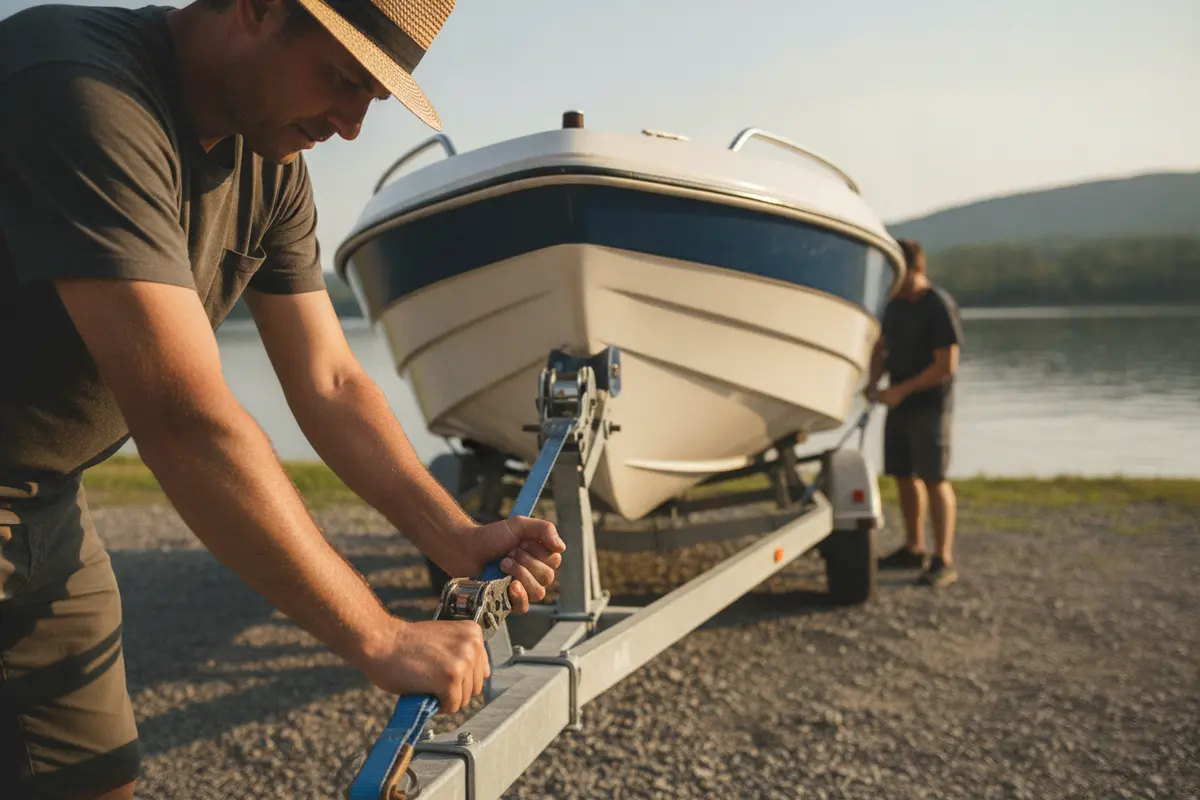
Walk around the boat and trailer. Confirm that the boat is positioned as intended and that the bow stop or bow restraint is engaged. Check each transom tie-down and any additional restraint specified by the boat or trailer maker. Straps should be in good condition, properly routed, tight enough to hold the boat in place, and protected from sharp edges. Replace frayed, cut, or damaged straps.
Secure loose items in the boat, including cushions, fishing gear, covers, and equipment that could shift or blow out. Close hatches and ensure the motor is in the travel position specified by its manufacturer. Remove or secure any gear that could obstruct lights, visibility, or safe handling. If a cover is fitted, confirm it is designed and secured for trailering; a loose cover can flap, tear, or obscure the driver.
Check the trailer itself for a loose fender, hanging strap, open storage compartment, or anything that could contact a tire. Confirm the load does not appear shifted and that the trailer sits level as the equipment setup requires. NASA’s pre-towing and launch checklist also highlights towing the trailer in a level position and checking that lug nuts are tightened. Follow the instructions for your particular rig when checking those details.
What Should You Recheck Before Leaving Home?
Once everything is connected, make one complete walk-around. This final check catches items missed while you were moving between the vehicle and trailer. Keep a printed list in the glove box or save a copy on your phone. Use it in the same order every time, and update it if your trailer, tow vehicle, or equipment changes.
- Coupling: Coupler seated and latched, retainer in place, chains attached, and jack raised.
- Electrical: Connector secure, cable routed safely, lights and signals working, and brakes checked as applicable.
- Wheels: Tires checked cold to the specified pressure, wheels sound, and lug nuts addressed according to the maker’s instructions.
- Boat: Bow and transom restraints secure, loose gear stowed, and motor set for travel.
- Vehicle: Mirrors adjusted, tires checked, route considered, and required towing equipment on board.
If you stop during the trip, choose a safe place away from moving traffic before inspecting the rig. After the first short stretch, it can be useful to pull over where permitted and recheck that the coupler, restraints, and visible trailer components remain secure. Repeat a visual check after any event that could affect the trailer, such as a hard bump or an unusual sound. Do not stand in a travel lane or reach beneath an unstable trailer.
How Can You Make the Inspection Repeatable?
A written checklist is most useful when it follows a consistent order. Start at the vehicle connection, move around the trailer, inspect the boat and gear, then finish at the driver’s door. That route reduces the chance of walking past the same component twice while missing another. Keep the list somewhere easy to reach, and make the items specific enough that another driver could understand what to check.
Separate quick pre-trip checks from maintenance tasks. A pre-trip check asks whether the tire appears sound and has the specified pressure; scheduled maintenance may require a closer inspection or service by a qualified person. A checklist cannot determine whether a bearing, brake, or frame component is safe internally. If a visual check raises a concern, stop and ask for an appropriate inspection rather than treating the box as complete.
- Mark a check only after you have looked at or tested the item, not from memory.
- Write down defects and repairs so the next driver knows what was found and addressed.
- Revisit the list when equipment changes, the trailer is serviced, or you begin towing a different boat.
- Use a second person as a spotter for lights or coupling when helpful, but have one person take responsibility for the final walk-around.
If a trailer has been stored for a long period, do not assume that parking it safely means it is ready for the road. Confirm tire pressure, inspect the wiring and straps, and check the hitch and wheels before loading the day’s schedule around a departure time. A few deliberate minutes can reveal a problem while the trailer is still parked, where it is easier to address.
How Should You Adapt the Checklist to a Massachusetts Trip?
Local trips can still bring changing conditions. Before departure, check the weather and consider how wind or rain may affect the tow vehicle and boat. Allow extra time rather than rushing an inspection because a launch window is approaching. If the boat is coming from storage or has not been towed recently, give the tires, lights, hitch, and restraints particular attention.
Think through the whole drive, not just the final miles. A route that is manageable in a car may be more difficult with a trailer, especially if it includes tight turns, steep grades, narrow streets, or heavy traffic. Use a route that suits your vehicle and experience. If you are unsure about towing or hitch setup, arrange hands-on instruction before the day of the trip. Our Boating 101 guide offers related orientation for people building familiarity with boating, while the club FAQ covers common membership questions.
This checklist is about trailer readiness, not how to launch or maneuver at a ramp. For trip planning, review conditions and access information separately, and follow posted instructions at your destination. If towing does not fit your plans, you can learn about boat club membership as another way to spend time on the water without towing your own boat. To see the available local options, read about Boston, Danvers, and Gloucester, or explore the Massachusetts fleet.
What Questions Do Boaters Ask About a Boat Trailer Checklist?
How often should you inspect a boat trailer?
Do a complete inspection before every towing trip, even if the trailer was used recently. Tires can lose pressure, straps can wear, and lights or connections can fail between outings. Follow the manufacturer’s schedule for maintenance that goes beyond the visual pre-trip check.
Can you tow if one trailer light is not working?
Do not begin a trip with a required light or signal that is not working. Check the connection and bulb or light unit only if you can do so safely. Repair the fault or ask a qualified technician to diagnose it before towing.
Should trailer tire pressure match the tow vehicle?
Not necessarily. Use the pressure specified for each tire and load by the applicable vehicle, tire, or trailer manufacturer. Check trailer and tow-vehicle tires separately with a gauge when cold.
What is the most important hitch check?
Verify the coupler is the correct match for the hitch ball, is fully seated, and is latched and retained as instructed. Then confirm the safety chains and electrical connection are properly attached. If the fit or capacity is uncertain, do not tow until it is resolved.
What Should You Remember Before Towing?
A consistent boat trailer checklist makes it easier to spot problems before you set out. Confirm the tow vehicle and connection, inspect tires and lights, secure the boat and its gear, and finish with a full walk-around. If something is damaged, mismatched, or unclear, pause and get it addressed before towing.